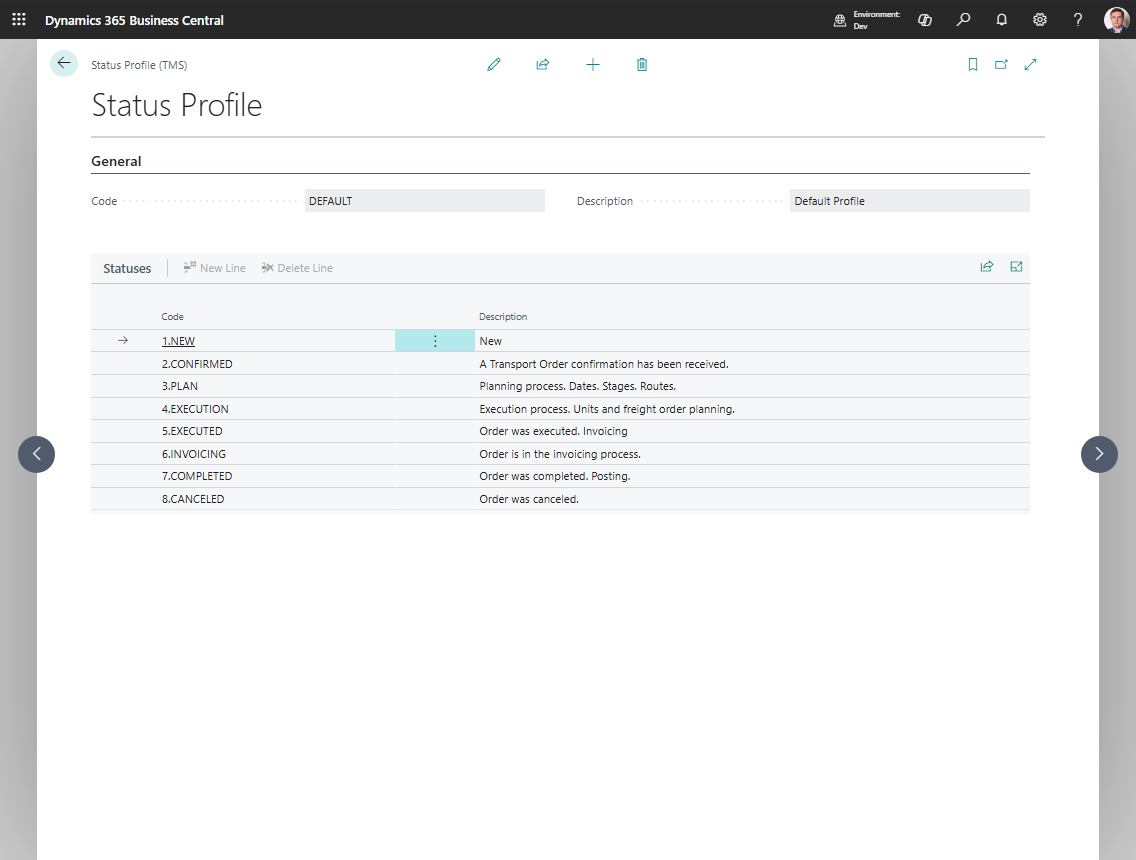
Statuses and Status Profiles
Use Status Profiles and Statuses when your company wants to control execution stages with a custom status model.
This setup is most relevant for Proof of Delivery and other execution-oriented workflows where documents move through named business stages.
How to work in these pages
Use Status Profiles to define the list of execution states that users should see.
- Create the Status Profile first.
- Add simple, business-readable statuses to the profile.
- Keep the list short enough for dispatchers and drivers to understand.
- Avoid technical names that only developers understand.
- In Shipper TMS Setup, set Transport Execution Status Profile to the profile you want to use.
- Test the execution process and confirm that users see the expected statuses.
What is the difference
| Object | Purpose |
|---|---|
| Status Profile | The container that defines one status model |
| Status | A single step inside that profile |
Create a status profile
- Search for Status Profiles.
- Choose New.
- Fill in Code and Description.
- Open the card.
- Add the required statuses in the lines section.
Create statuses in the profile
For each profile, add the statuses your process needs, for example:
- Planned
- Loaded
- Departed
- Delivered
- Closed
Use simple business language that users understand immediately.
Where this setup is used
If your company uses Proof of Delivery, select the relevant profile in Shipper TMS Setup in Transport Execution Status Profile.