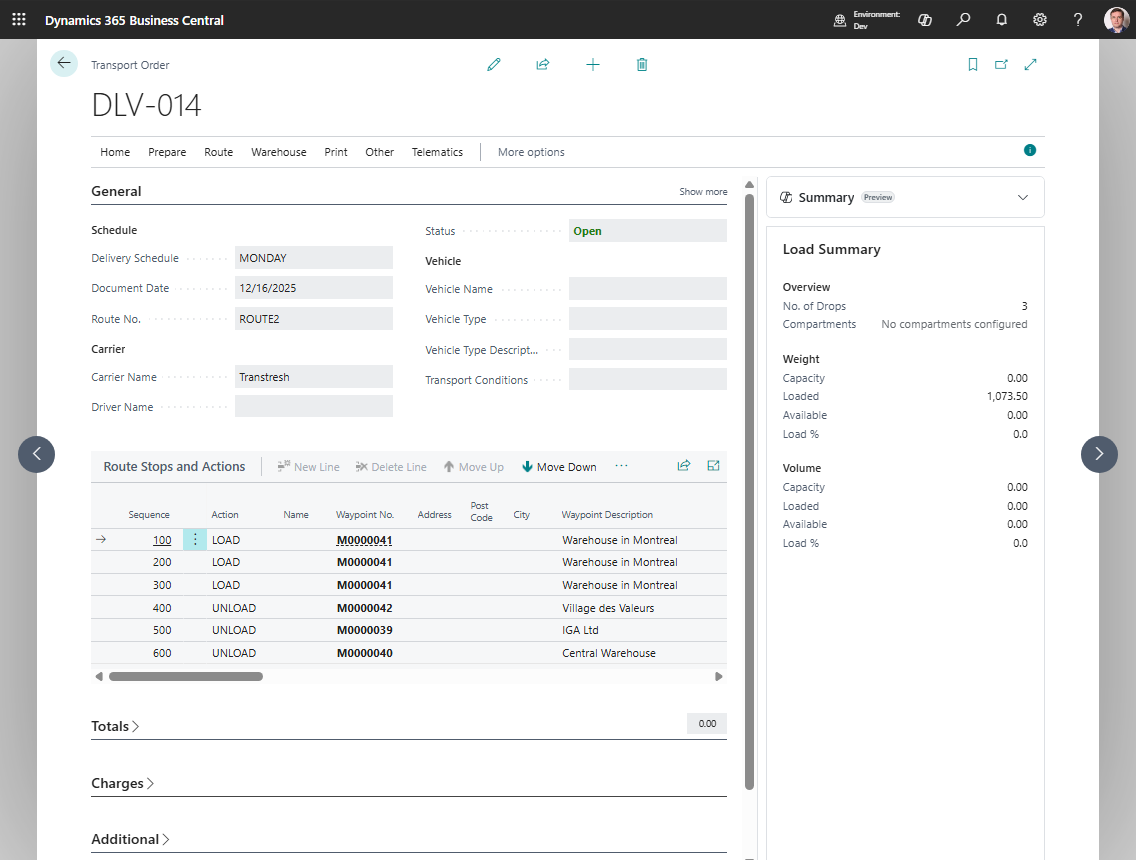
Routes
Use Routes to group customers, vendors, ship-to addresses, order addresses, and locations into logical transportation corridors.
A route in Shipper TMS is not a turn-by-turn map path. It is a planning label that helps you:
- group demand,
- filter requests,
- default carrier, vehicle, and driver values,
- plan by route in Visual Scheduler.
How to work in this page
Use the route list when you maintain planning areas or recurring delivery corridors.
- Add one row per logical route.
- Use Code for a short route identifier that planners recognize.
- Use Description to make the route understandable in filters and planning boards.
- Set default carrier, vehicle, and driver only when that route normally uses the same resources.
- Use Scheduler Sort Order to place common routes near the top of scheduler views.
- Use Block for Scheduling when the route should not appear as a planning resource.
- Drill down from No. of Customers when you want to review customers assigned to the route.
Create a route
- Search for Routes.
- Add a new row.
- Fill in Code and Description.
- If needed, set:
- Default Carrier No.
- Default Vehicle No.
- Default Driver No.
- Set Scheduler Sort Order if you use route-based scheduling.
- Enable Block for Scheduling only if the route should not appear in scheduler views.
Assign a route to master data
Set Default Route No. on:
- Customer
- Vendor
- Ship-to Address
- Order Address
- Location
You can also set Route Sequence on the same records if the stop order usually follows a fixed sequence.
How route defaults are used
Route values flow through the process like this:
- The route is copied from master data to the source document.
- The route is copied from the source document to the Transport Request.
- If you set a route on a Transport Order and the carrier is still blank, the route’s default carrier, vehicle, and driver can be applied.
- When you run Get Transport Requests, the route can be used as a filter.