Azure Maps integration
Use this guide when your company wants Shipper TMS to use Azure Maps for:
- address geocoding,
- route display,
- distance calculation,
- travel-time estimation,
- truck-aware routing.
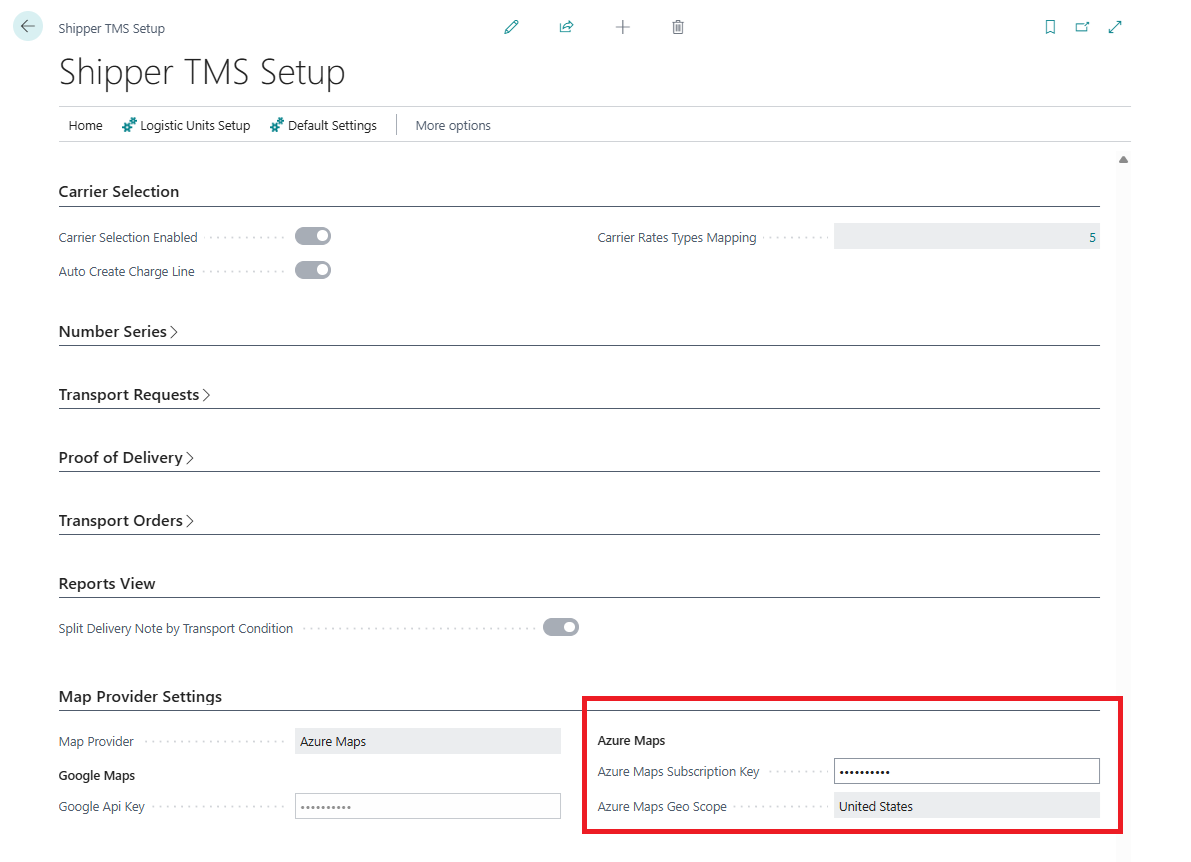
This app currently expects an Azure Maps Subscription Key in Shipper TMS Setup.
How to work with this setup
Use this page when Azure Maps is the selected provider.
- Create or open the Azure Maps account in Azure.
- Copy the Primary Key from Authentication.
- Open Shipper TMS Setup.
- Set Map Provider to Azure Maps.
- Paste the key into Azure Maps Subscription Key.
- Select Azure Maps Geo Scope if your company uses a specific processing region.
- Test geocoding from a Map Location.
- If truck-aware routing is required, create Vehicle Routing Profiles and assign them to vehicle unit types.
- Test distance calculation from a Transport Request or Transport Order that uses a configured vehicle type.
Before you start
- You need an Azure subscription.
- You need permission to create or manage an Azure Maps account in the Azure portal.
- Your company should decide which Azure region or data scope it wants to use.
Create the Azure Maps account
- Sign in to the Azure portal.
- Choose Create a resource.
- Search for Azure Maps.
- Create a new Azure Maps account.
- Select the Azure subscription and resource group.
- Enter the account name.
- Select the pricing tier that your company will use.
- Create the resource.
Get the subscription key
- Open the Azure Maps account in the Azure portal.
- Open Authentication.
- Copy the Primary Key.
Use the Primary Key as the subscription key unless your company is intentionally using the secondary key for rotation scenarios.
Enter the key in Shipper TMS
- Open Shipper TMS Setup in Business Central.
- In Map Provider Settings, set Map Provider to Azure Maps.
- Paste the value into Azure Maps Subscription Key.
- Select Azure Maps Geo Scope if your company wants a specific processing region.
Optional: Enable truck-aware routing
Azure Maps becomes much more useful for transportation planning when you also configure vehicle-routing profiles.
Recommended setup:
- Open Vehicle Routing Profiles.
- Create one or more profiles for your equipment types.
- Assign the profile to the relevant vehicle unit type.
- Use that vehicle type on the Transport Order.
This is how the route engine can consider dimensions, weight, axle, and hazardous-load restrictions.
Verify the integration
- Open a Map Location with a valid address.
- Choose Geocode address.
- Confirm that coordinates are returned.
- Open a Transport Order or Transport Request and run the route or distance action.
If geocoding works and route calculations return distance and duration, the integration is configured correctly.
Security note
Treat the Azure Maps key as a secret.
- Do not share it in screenshots.
- Do not store it in plain text outside approved admin tools.
- Rotate it according to your company’s Azure key-management policy if needed.